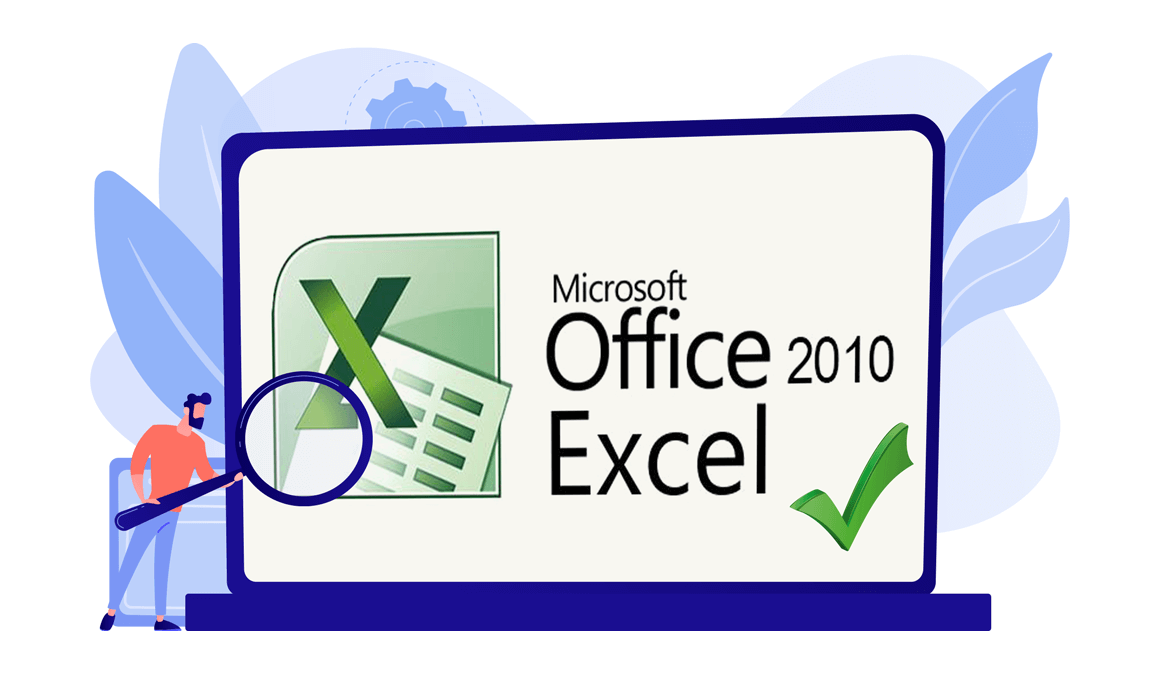
How to Download, Install and Activate Excel 2010

Introduction:
Use Microsoft Excel 2010 and start analyzing, managing and sharing your information thanks to the great features your software provides you with. With Excel 2010, your files will look better and more professional than ever.
This guide explains how to download and install Excel 2010.
Requirements
- Excel 2010 download file
- Operating system: Windows 11, Windows 10, Windows 8.1, Windows 7, Windows Server 2019, Windows Server 2016, Windows Server 2012 and Windows Server 2008
Steps to follow
Download Excel 2010
-
After receiving your order, click on the download link to start the download of Excel 2010.
Wait for the download, it may take a few minutes.

-
Open your download folder once the Excel file is downloaded.

-
Install Excel 2010
-
To mount the Excel file, you can follow one of these 3 methods:
- Method 1:
Right click on the Excel file then click on “Mount” to open the installation folder.

- Method 2:
Right click on the Excel file, click on “Open with” then click on Windows Explorer.

- Method 3:
If you don’t have the “Mount” option, you can use any software for mounting ISO files such as Virtual CloneDrive.
You can download and install from here

When you finish the installation of Virtual CloneDrive, please go to your download folder, then double click on the Excel 2010 file to mount.
- Method 1:
-
The installation folder will open. Double click on Setup to run the installation of Excel 2010.

-
Accept the terms and conditions of the agreement then click on “Continue”.

-
Click on “Install now” to start.


-
Excel 2010 is installed now. Click on “Close”, then open the Excel application to activate it.

-
Activate Excel 2010
-
To open Excel , click on the start button then type “Excel”

-
Click on “File” then “Help to activate Excel 2010”.


-
Click on “Change my product key”.

-
Put your activation key (25 characters), then continue to activate your Excel 2010.

-
Your Excel 2010 is installed and activated now.

Done, your Excel is now installed and activated.
-

 Our Brands


